
A Guide to Guitar Pedal Design
Zach Geyer
Guitar pedals are undeniably awesome. You can transform sound from an instrument into something different with just a little metal box. Unfortunately, any pedal that sounds good is very expensive. For example, if you want to purchase a Dunlop Fuzz Face, a classic pedal used by prominent guitarists throughout the decades, you can expect to pay $170. Even cheaper options such as the JHS series 3 pedals cost $100 per pedal. There is an alternative– by making guitar pedals on your own you can save hundreds of dollars, get amazing-sounding pedals, and learn how the electronics of the pedal work, which can help you better understand the world around you. This article will be a comprehensive guide to how to start making guitar pedals, with different steps depending on the level of involvement you want to have in creating the pedal.
How Do Guitar Pedals Work? (This paragraph is very oversimplified)
Guitar pedals take in a guitar signal, then through a network of electronic components, manipulate that sound and output it to the amplifier. That network of components is the circuit in the pedal– it is composed of discrete components (resistors, capacitors, inductors, and diodes) that cut, filter, and shrink the waves of sound. Passive components can have higher or smaller values which control how much they affect the networks of components they’re in (a higher value resistor will shrink a signal more, or a higher value capacitor can store more electricity). Along with active components (transistors, op-amps, OTAs, and other integrated circuits) that amplify, buffer, and cause feedback in the signal. When these components are put together in different ways, they manipulate the sound of the guitar in ways that create effects that can resemble what we think of as effects such as fuzz, phaser, and tremolo.
What You Need:
Before I can start explaining how to get started it’s important to have the necessary tools before you get started. Now let’s get started:
Soldering Iron:
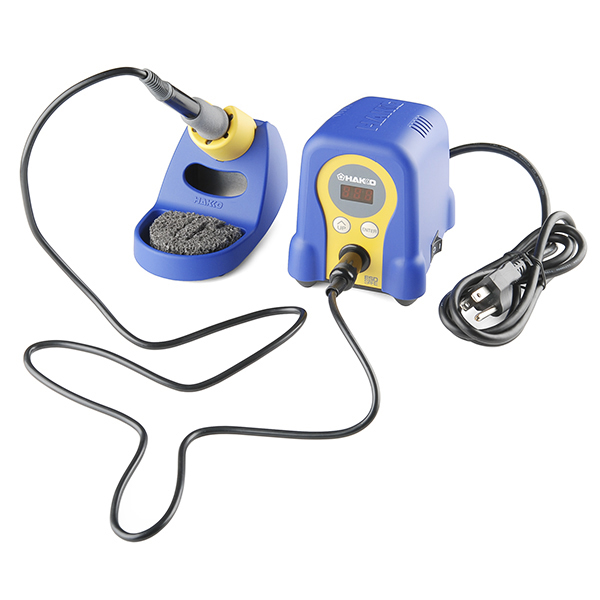
However you decide to make your pedals, you will be soldering. Soldering is the process of using an extremely hot iron to melt small pieces of metal. This is necessary when creating permanent connections between wires, parts, and circuit boards. It is also a potentially dangerous process so I would suggest using a tutorial by a trained professional, here’s a video I used to learn soldering https://www.youtube.com/watch?v=QKbJxytERvg&t=1s.
Flush Cutters:
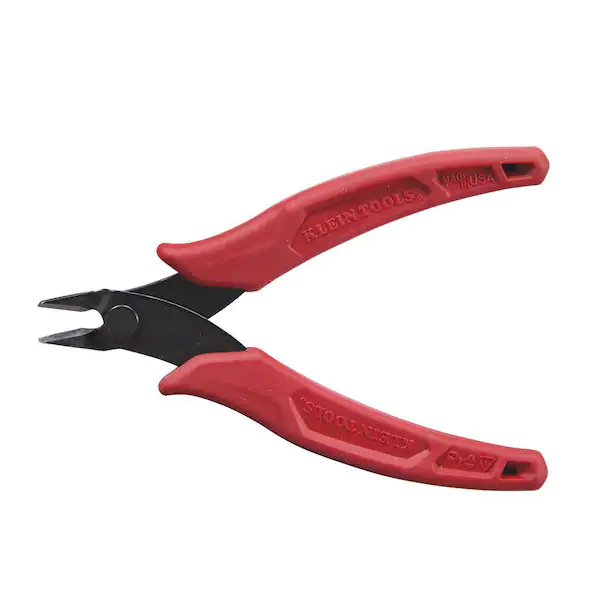
While making pedals you’re going to be cutting a lot of wires and in my opinion, flush cutters are the best way of doing that. they’re small and easy to use– perfect for the thin wires you will be cutting.
Wire Strippers:
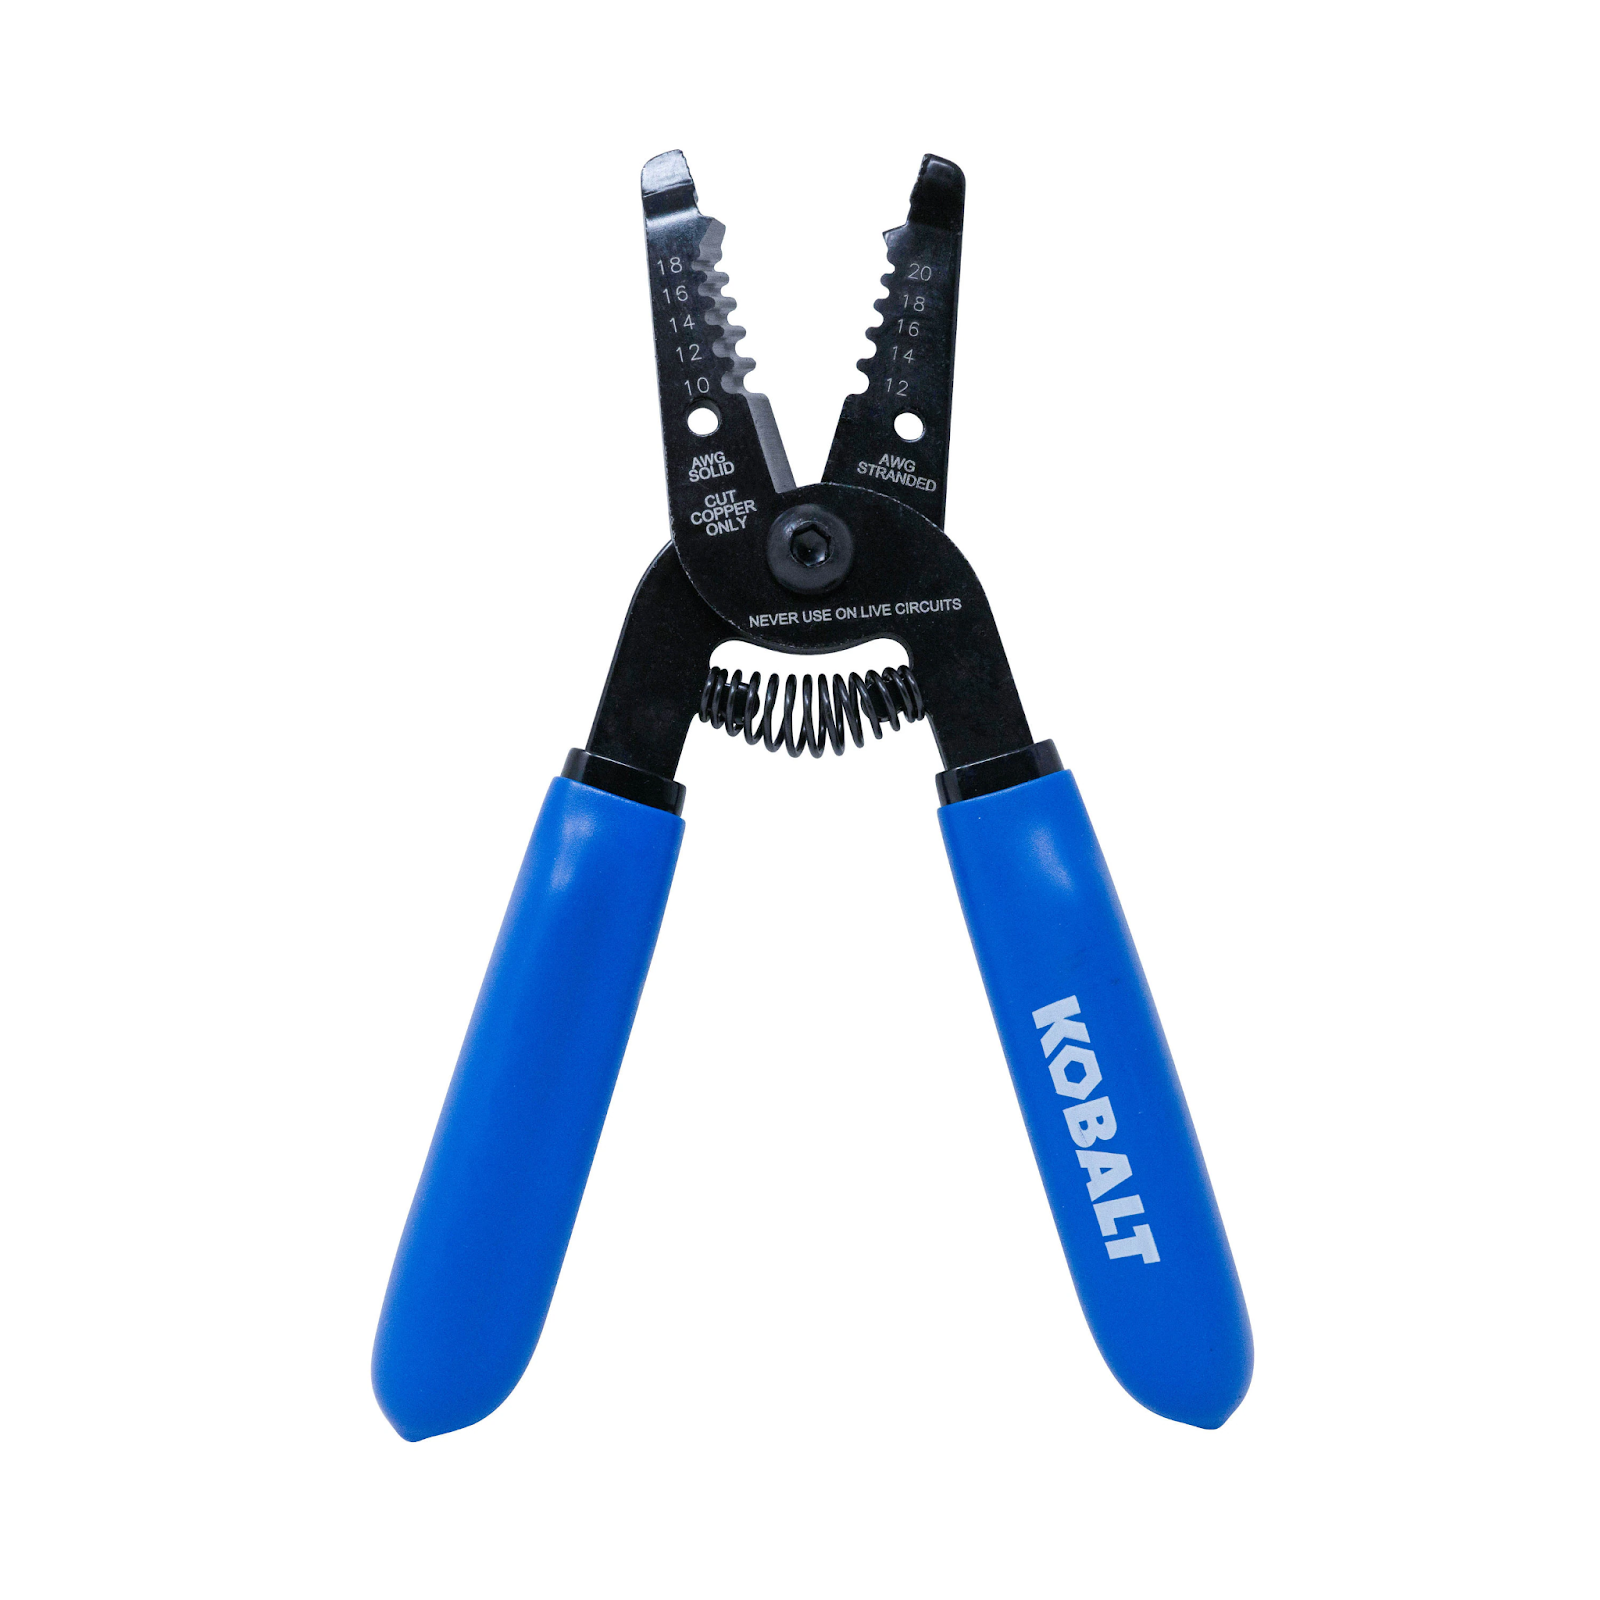
If you want to use rolls of wire instead of pre-cut wires, wire strippers are a must! You can remove the insulation from a wire so you have a metal end to solder into a board. In addition, these are also nice to have around the house in case you have any minor electrical issues!
this article does not suggest you attempt to fix electrical issues relating to high AC voltages unless you are a trained professional, such issues are very dangerous and could very easily result in death
Needle Nose Pliers:
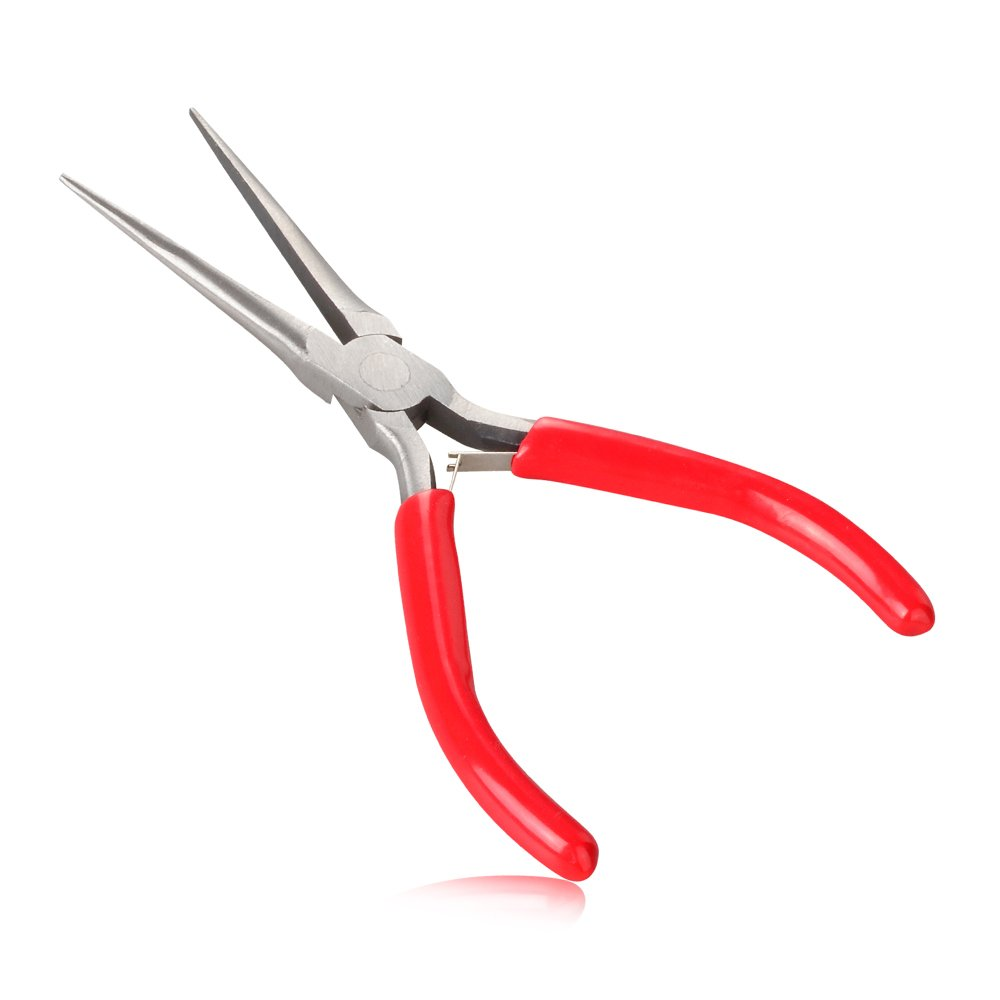
My needle nose pliers are one of the only tools that always stays on my desk, they always come in handy. Need to get a capacitor out of a messy breadboard, use needle nose pliers! Need to fish a knob out of an enclosure without messing up anything, needle nose pliers have you covered! They always come in handy when you least expect it.
Parts Kits
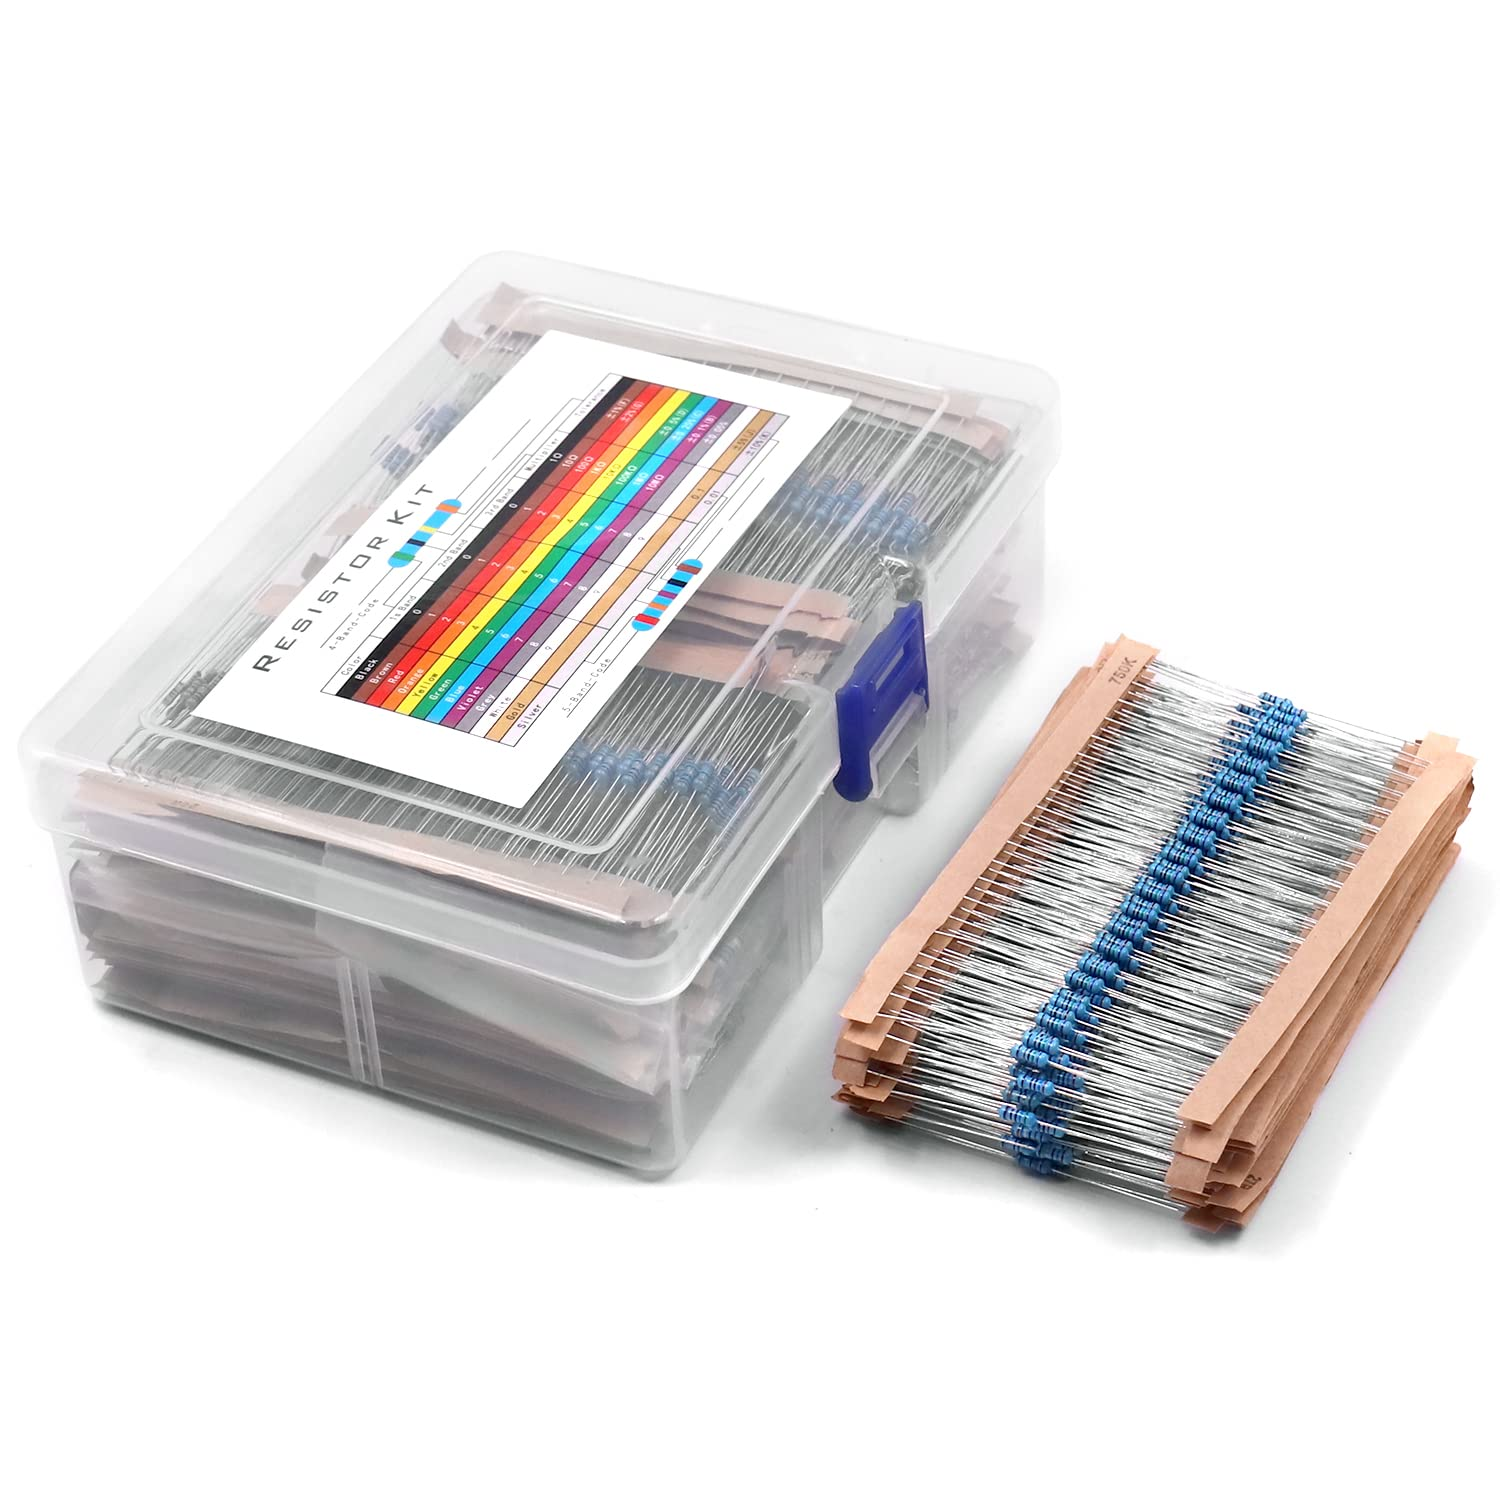
If you’re going to be designing your own pedals this is a must. You will need to test a variety of different component values to see how they affect the sound, and the best way to do that is with a collection of kits with parts of different values. I have kits of trimmer potentiometers (knobs you turn with a screw), electrolytic capacitors, ceramic capacitors, and resistors. These kits will normally contain 300 – 1000 parts and will cost somewhere from 10-20 dollars.
Breadboards
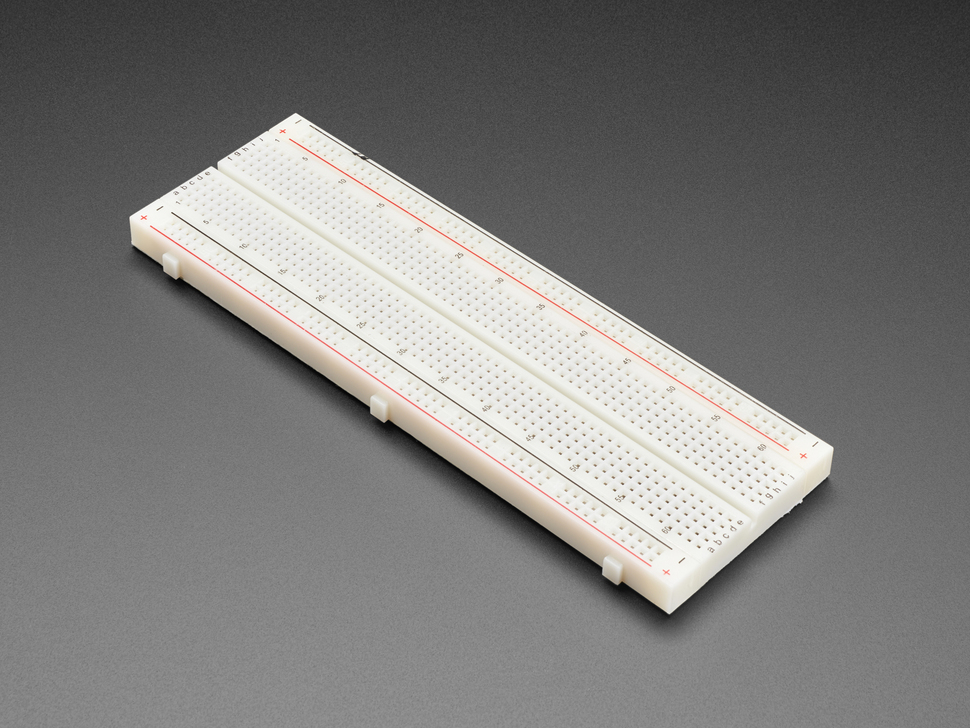
Breadboards are circuit prototyping boards that don’t require any soldering. They contain holes which components and wires can be inserted into. The inside of a breadboard has strips of copper that connect the holes on each row electrically. You can test your ideas on a breadboard, and then solder the circuit into a board later.
Oscilloscope
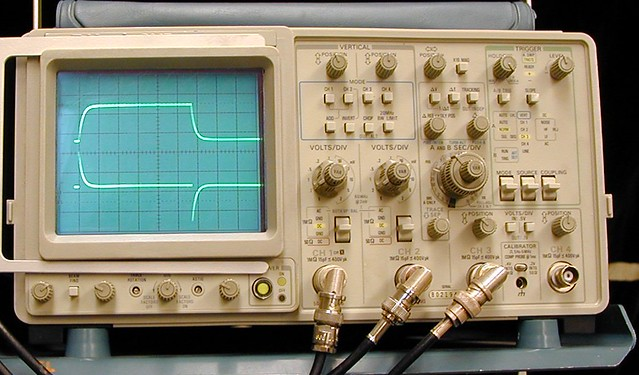
This is not at all necessary but is very fun to have. An oscilloscope is a device that allows you to see the shape of electronic waves. This is very helpful if your circuit is trying to have a precise impact on sound waves since many effects can be hard to check with only your ear. These can be very expensive if purchased new, but cheaper alternatives are available. My personal oscilloscope was made in the 1990s and I got it for around 100 dollars.
Multimeter:
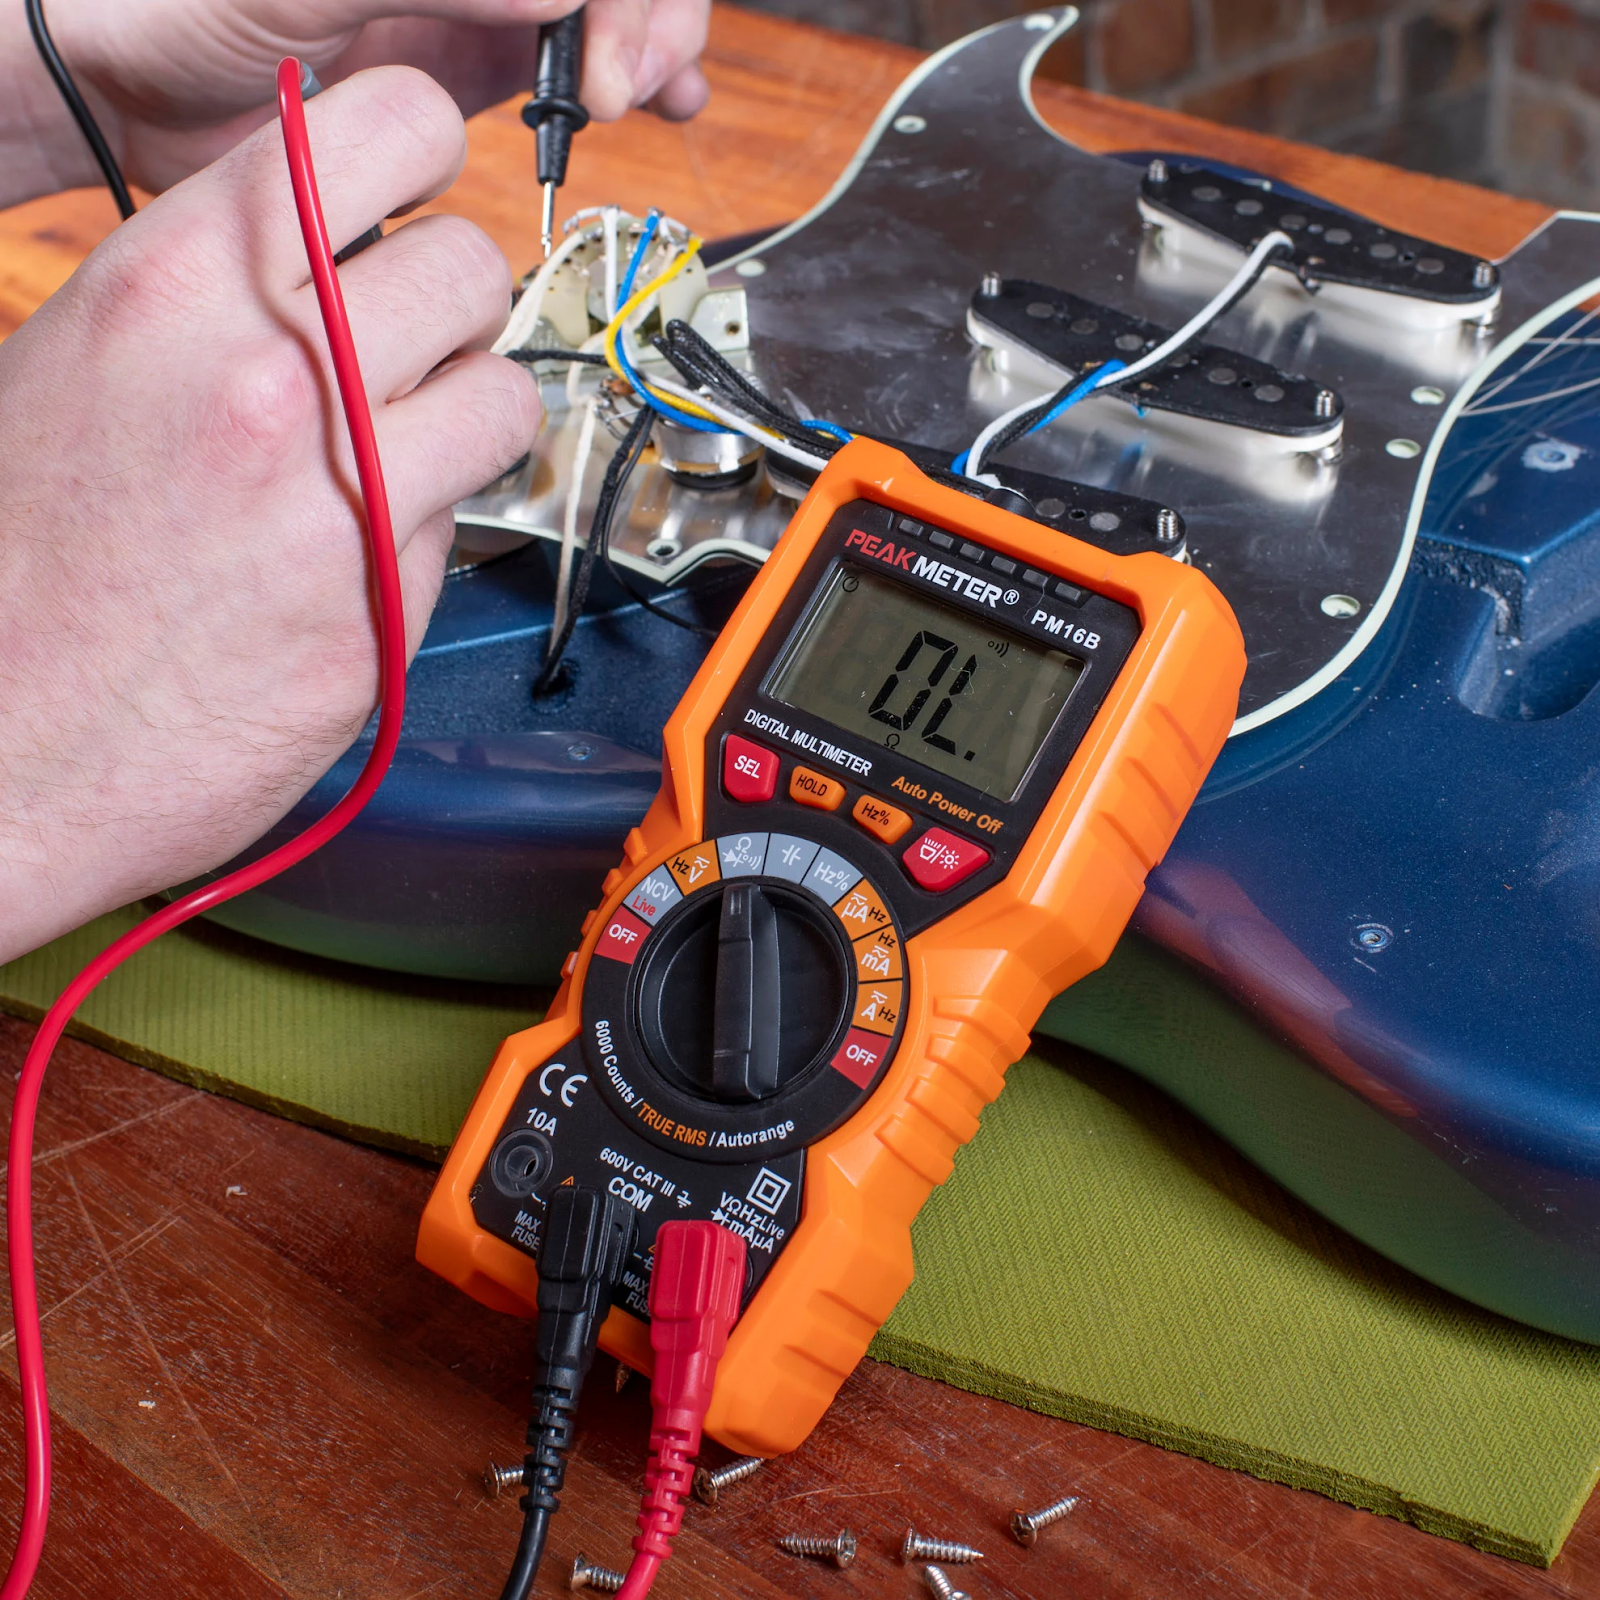
Multimeters test a variety of aspects of electronic equipment, such as voltage, current, resistance, and continuity. They will come in handy whenever something isn’t working. Circuits can be represented as math equations, where the outputs of the equation are the outputs of the circuit. When seeing if the calculations align with a real circuit, a multimeter can be used to check the values around the circuit.
Stripboard:
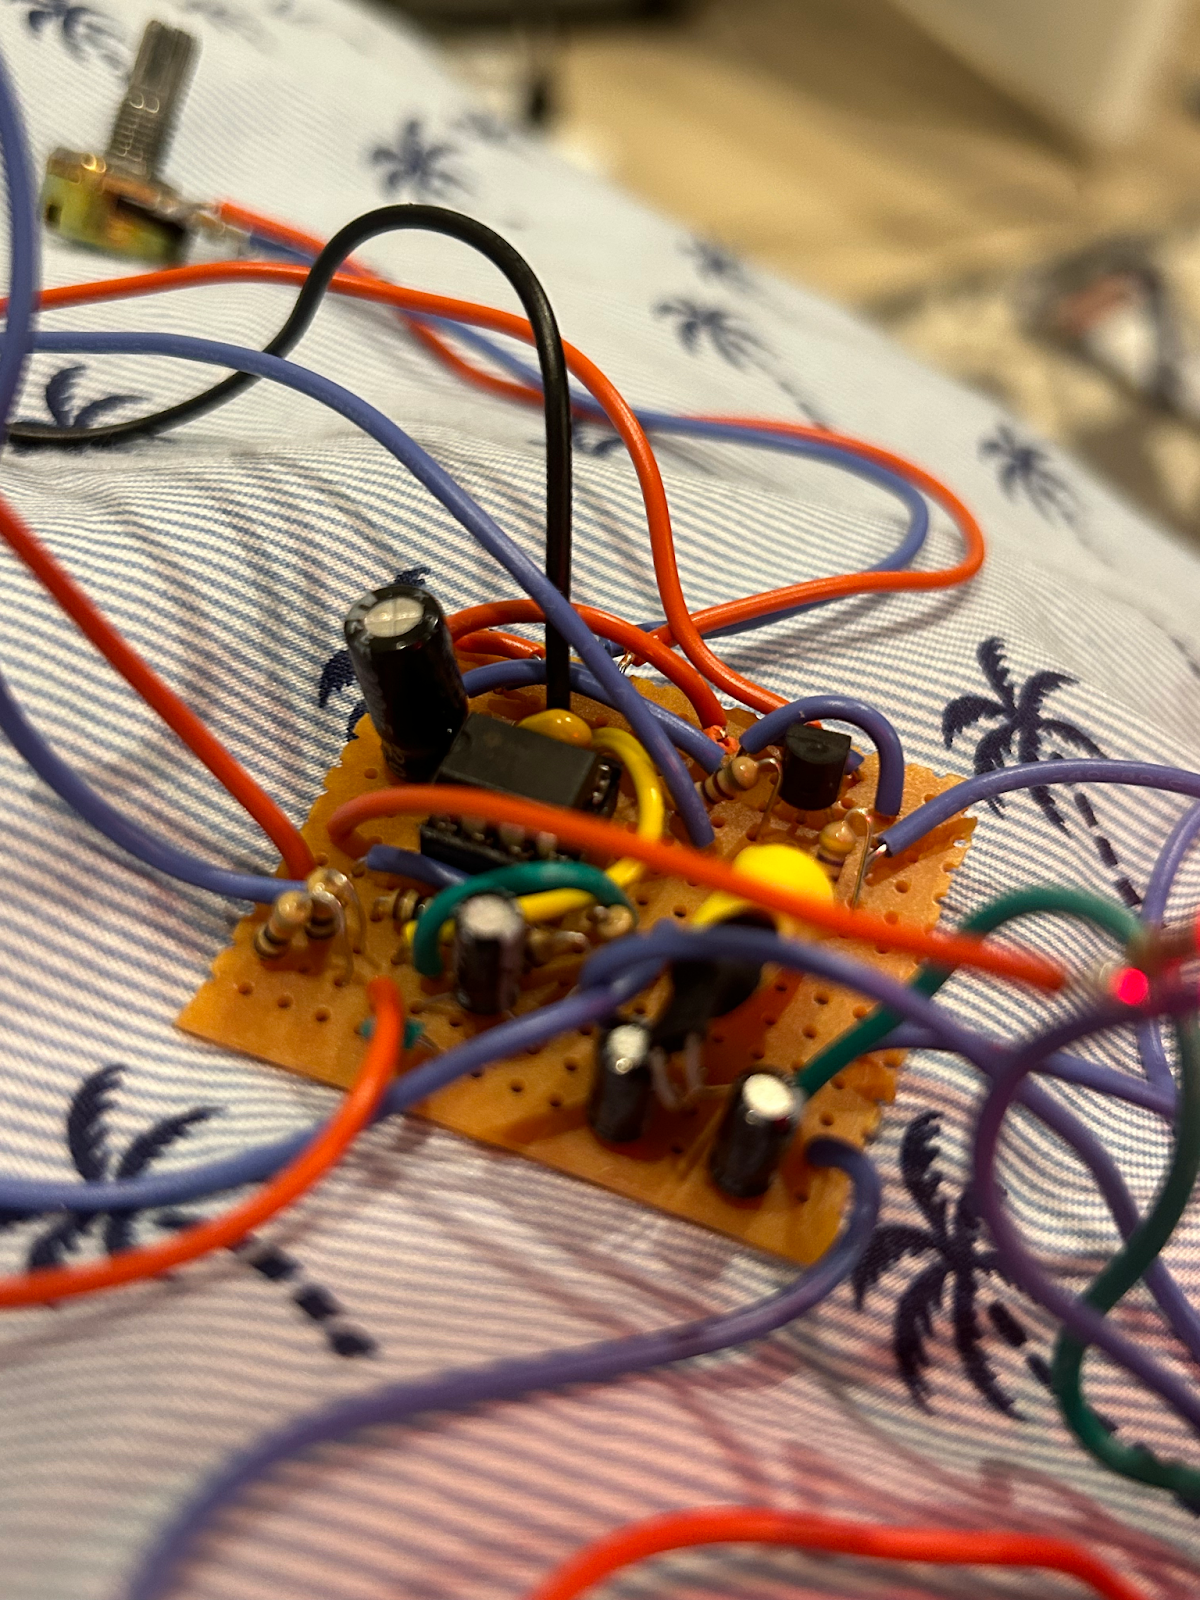
If you’re not using a full kit there’s a good chance you will want to use stripboard for your circuit board. Stripboard is a piece of wood or fiberglass with small holes for component legs and copper traces along the back. When a component is soldered to the copper, it will function like a wire connecting it to everything else on the same row of holes.
Pedal Building Method 1: Kits
The easiest way to get started is with a pedal kit. There are a variety of different kits that seek to emulate famous pedals (Fuzz Faces and Klon Centaurs’ are especially popular) or just be a new and interesting pedal. You just have to order the kit and you will get a box with all the parts needed (not including tools) and the enclosure. Once you solder the parts together and you’ll have a working pedal of your very own! Many of them also come with a manual that can walk you through the assembly process.
Pedal Building Method 2: Sourcing Parts
A cheaper alternative to kits is to buy all of the parts yourself. You can find guides to building pedals, or even just PNGs with pedal layouts all over the internet– most of these will be reliable enough to work and cheap enough for it not to matter too much if they don’t.
Once you find a layout you’re interested in, there is a chance you will be able to find a purchasable printed circuit board for the pedal, in which case your pedal design will probably involve a stripboard layout. Stripboard can be very confusing since there are so many holes. Make sure you mark which hole you will be using next with a marker (on the side with no copper).
There are a variety of places to purchase parts which have different advantages and disadvantages. Mouser and Digikey have massive parts libraries but don’t offer pedal-specific products, Love My Switches is great for enclosures, knobs, and switches but doesn’t contain the parts needed for the interior of the pedal.
This is why I recommend Stomp Box Parts. They have enclosures and knobs but also components needed for the interior of the pedal. However, some of the chips can be pricey such as LM13700 chips which can go for several dollars (most chips should cost less than one dollar). Once all of your parts arrive, just assemble them by following the stripboard layout.
After that, you will have to drill an enclosure! Just create a paper layout of your pedal, tape it to your enclosure, and drill the holes for the button and knobs. Then you can do whatever finishing process you like. I use a primer, a paint coat, and then a clear coat. Some people prefer to just clear coat straight over the bare metal enclosure. It’s up to you! After finishing, fit the circuit board and parts into the enclosure, put on your knobs, and screw it together. Congrats, you now have a pedal!
Designing Your Own Pedal
The difficulty of learning how to design pedals can vary dramatically depending on your level of knowledge of analog circuitry. If you already know analog circuitry, learning pedal designing can be as simple as looking at some pedal schematics, and watching a few YouTube videos– the first results for “DIY pedals” should be good enough. After that you can just start making your own pedals using the processes described in the above sections!
If you aren’t experienced, the road to pedal design will be much longer (and having used an Arduino a few times doesn’t count!). The best method to learn electronics is the book Make: Electronics. This book provides a concise and easy-to-understand set of lessons and experiments that teach the foundations of electronics which is light on math.
After going through Make: Electronics you will need a better understanding of audio circuitry, primarily the holy grail of analog electronics, the Operation Amplifier (or Op-Amp for short). This component is so fundamental to all of pedal design that it will make designing significantly harder if you don’t know how to effectively utilize them in your designs. I used the book Make: Analogue Synthesizers which provides information about analog synthesizers with lots of circuit analysis of audio circuits. It has two entire chapters dedicated to understanding Op-Amps.
Once you understand all these concepts, you should begin looking at pedal schematics and develop an understanding of what makes other pedals work and what gives them their sound.
And now, you’re finally at the fun part. Sit down and start designing a pedal on a breadboard! It’ll be confusing and awful at first but once the process starts to click, the feeling is unmatched.